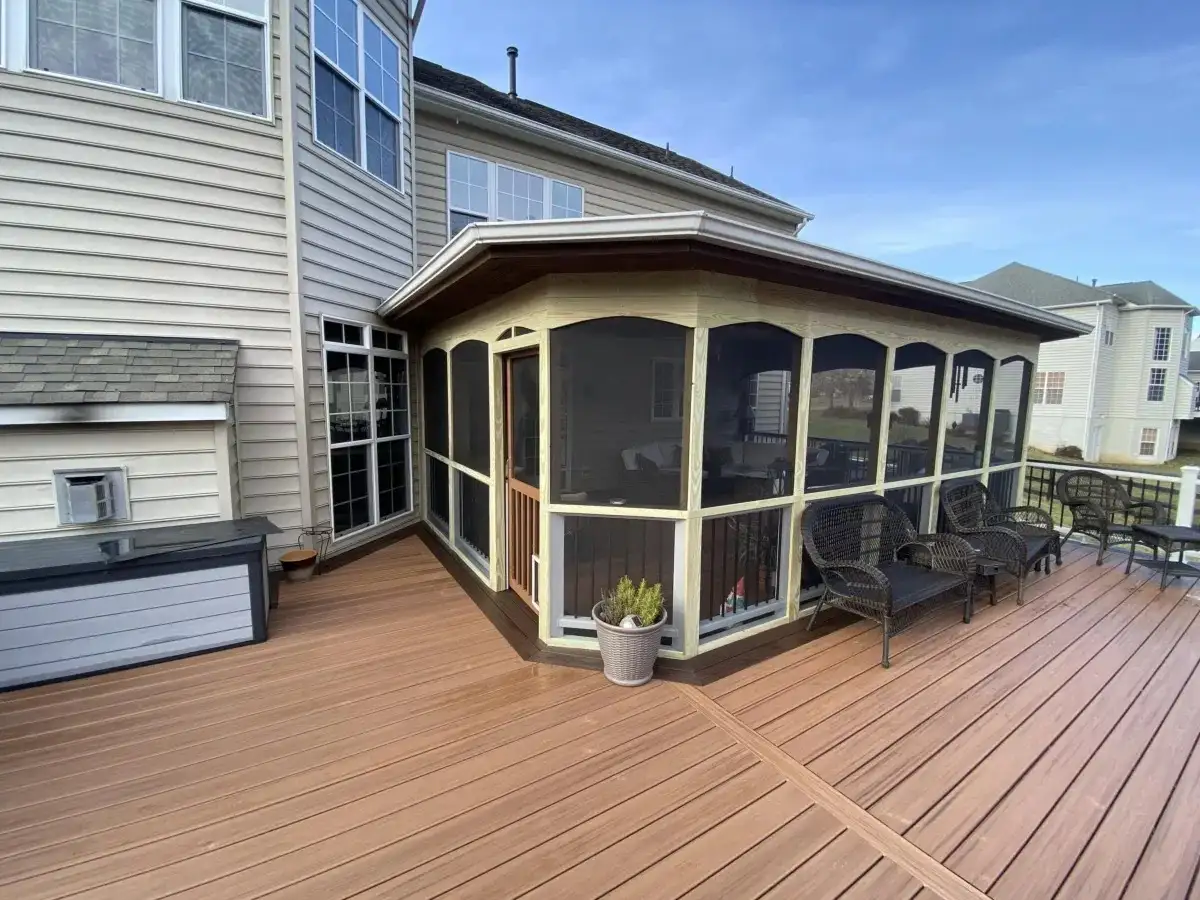
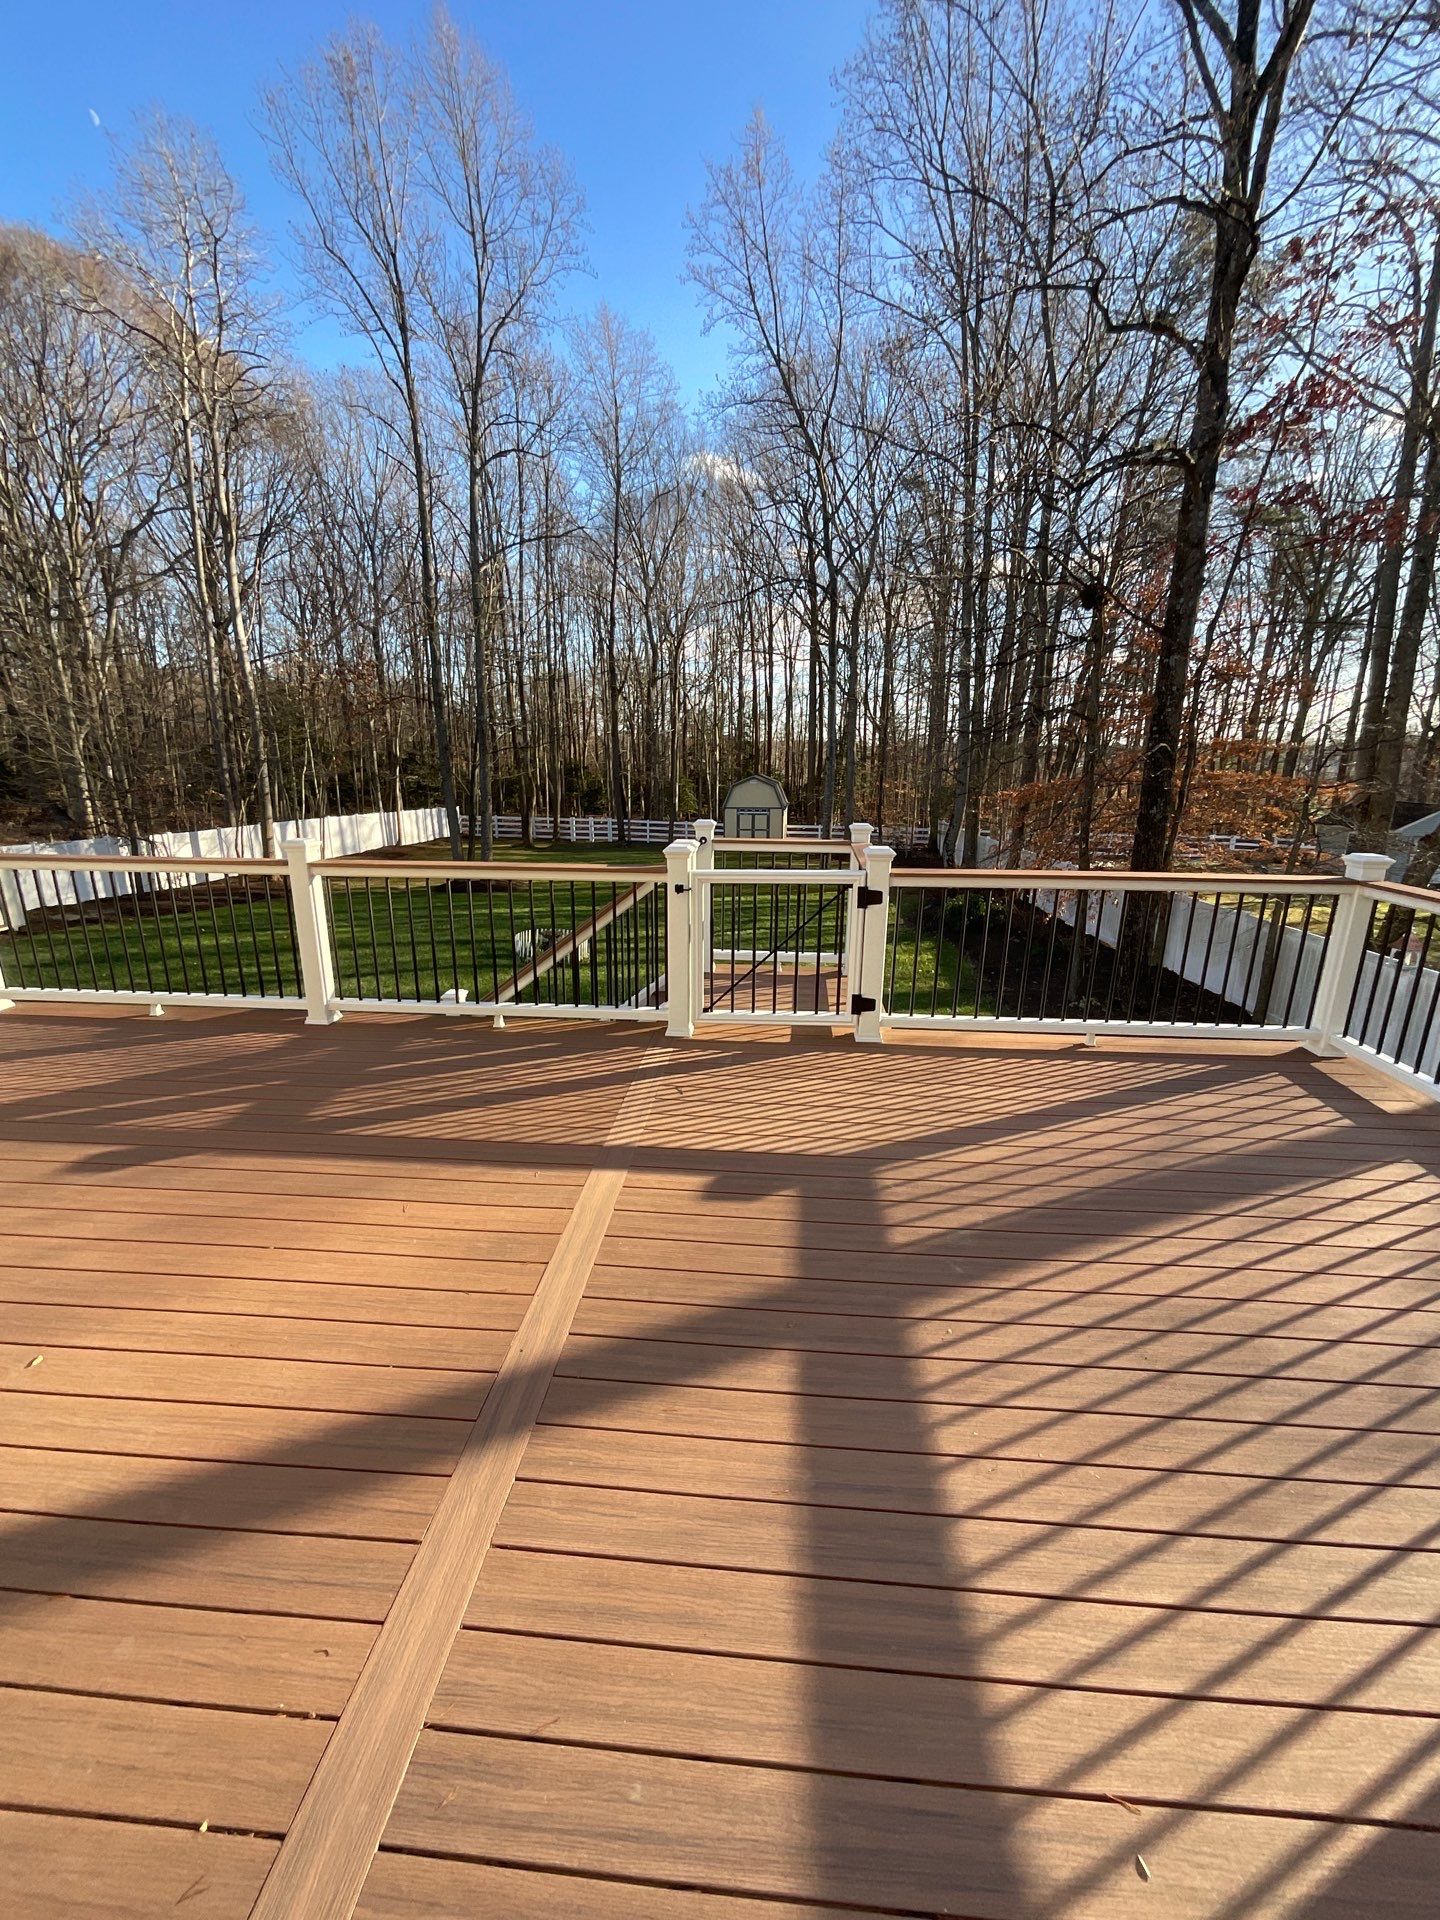
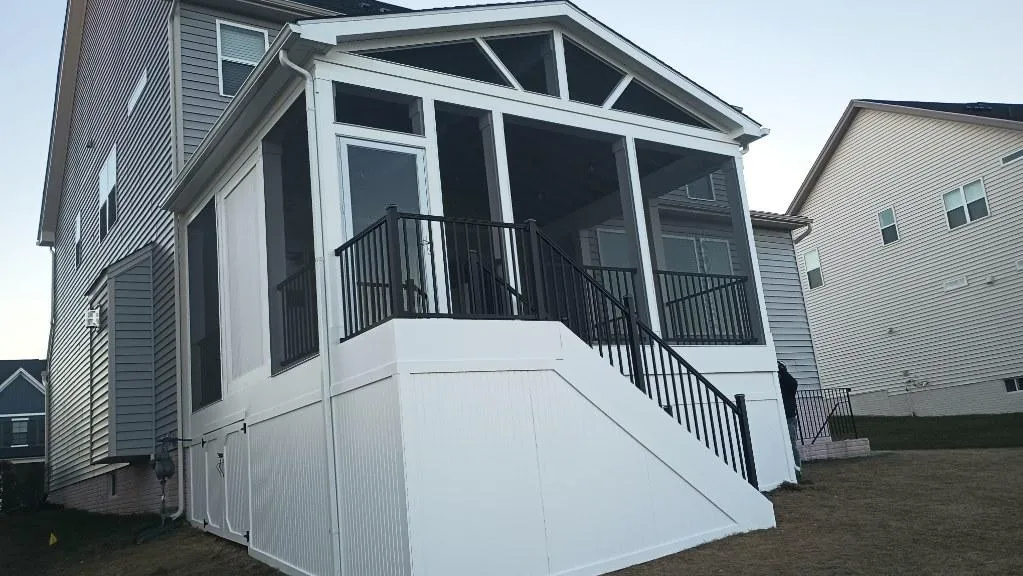
Before deciding to build a deck it is important to understand the local codes governing the structure. Plans for your project must be within the parameters of the County Typical or framing plans must be submitted for review prior to receiving your permit.
Before you start, you will want to make sure that you have cleared any zoning restrictions and building permits have been issued.
Typically, the first item on the agenda is to calculate the location of the footers and begin digging. Always remember to contact Miss Utility prior to digging to ensure that you know the location of utility lines.
STEP 1 – MARKING FOOTING LOCATIONS
Start by marking the location of your deck on your exterior wall, then using a large carpenters square, string line, and measuring tape, determine the locations of your footings and mark the center. It is critical that the deck be build square to prevent issues later in the project. While support posts can be adjusted on the footer later, you will save time by getting the footing locations in the right place.
STEP 2 – DETERMINE FOOTING TYPE
There are several types of footers to choose from. The most common type of footer is a buried post footer, which it detailed below. This is the most durable, cost effective, aesthetically pleasing, and versatile footing type. Other types are poured concrete, typically done with the use of a sono tube, and screw/helical piles.
STEP 3 – DIGGING FOOTINGS
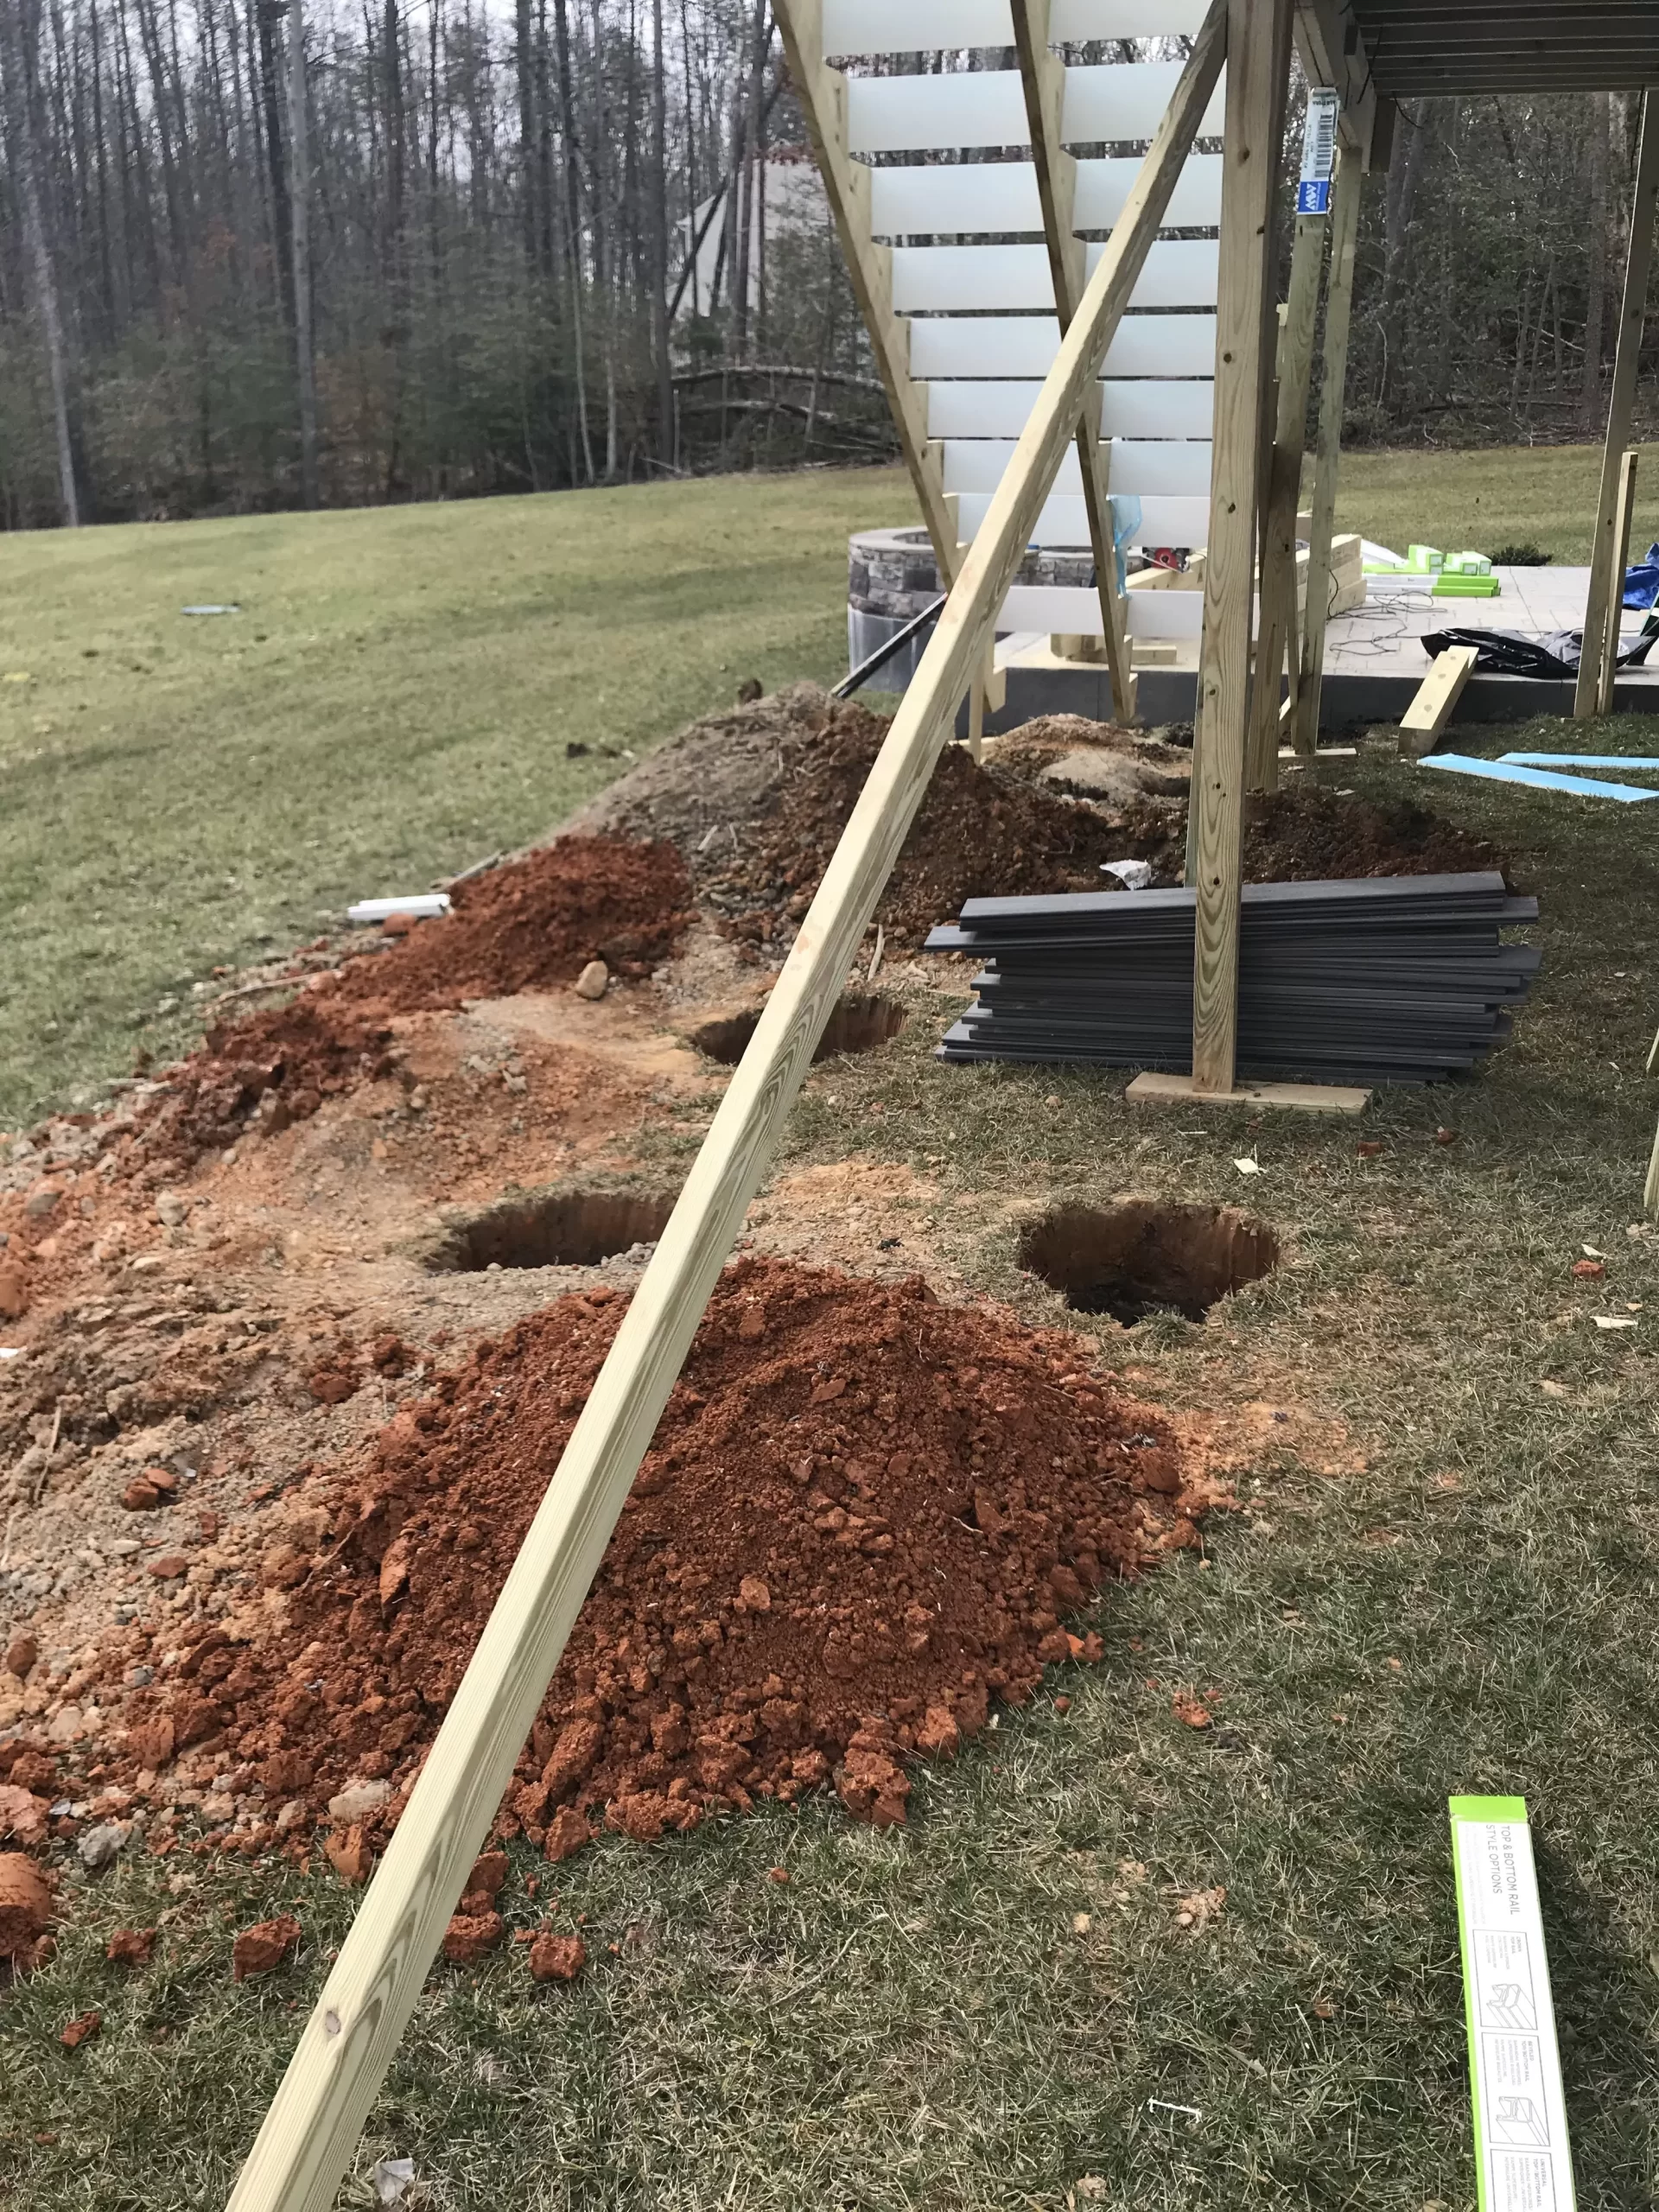
Once you have prepared the site and marked the footings it is time to start digging. In most cases a pry bar to loosen soil and rocks, a shovel to move material, and posthole digger to remove soil from the holes are the most effective way to dig footings. Augers can be used as well although in many cases rocks and utility lines make using an auger difficult and or dangerous.
Keep the removed soil close by as it will be placed back into the hole after concrete is poured.
[Best Practice] HD Exteriors places the material on a tarp to help protect the grass and make it easier to shovel back into the hole.
TYPICAL FOOTINGS
For most deck applications, in most jurisdictions, the width of a footing should be 20 inches round and a minimum of 24 inches deep. It is important that the base of the footings be solid, and in many cases you will need to keep digging until you reach undisturbed soil.
FREESTANDING DECK FOOTINGS
Oftentimes footings dug close to the foundation wall will need to be dug all the way to the depth of the foundation that the house is built on. In these situations, footings can be as deep as 9 feet which can be very challenging. Projects requiring deep footers is common with freestanding decks and when basements are mostly below grade.
FILL AND SANDY SOIL CONDITIONS
When digging footers in sandy soil conditions and or to certain depths, it can be a challenge to keep the footing walls from caving in. In these cases you will need to start the footing at a wider diameter narrowing it down to the minimum 20 inch with requirement as you dig deeper.
UTILITY LINES IN FOOTING
It fairly common to have utility lines in the footing hole. Be sure to dig carefully around them to the required depth. If utility lines are near the bottom of the hole, you must continue digging to allow enough space for the concrete footing to be placed below the lines (typically 12”). The utility line may not be encased in concrete.
STEP 4 – INSPECTION OF FOOTINGS
Once you have completed the footings for your project, contact your local buildings and inspections office to schedule an inspection prior to pouring concrete. If footings are moved, added, or altered after your initial inspection, you will need to request an additional footing inspection.
If you have questions about footing or need professional help, please reach out to our office at 301.691.4972


